Prerequisites
Please install Docker and Docker Compose on your machine before proceeding. You can find installation instructions for Docker here.
Please make sure you have right permission to run the docker command. See https://docs.docker.com/engine/install/linux-postinstall/
Step 1: Clone the repository
First, clone the SkywardAI Chat repository to your local machine by running the following command:
git clone https://github.com/SkywardAI/chat-backend.git
Step 2: Navigate to the project directory
Change into the project directory by running the following command:
cd chat-backend
Please go to check the latest version of frontend in the releases, and update it in docker-compose.yml file in here.
Step 3: Build and run the images
Setting up environment variables for the backend by creating a .env file in the root directory of the project. You can use the following template to create the .env file:
make demo
Check the status of the containers by running the following command:
vscode ➜ /workspaces/chat-backend (main) $ docker ps -a
CONTAINER ID   IMAGE                                      COMMAND                  CREATED              STATUS                        PORTS                      NAMES
16897300a23f   adminer                                    "entrypoint.sh php -…"   About a minute ago   Up About a minute             0.0.0.0:8081->8080/tcp     db_editor
683d7eb8a65a   chat-backend-backend_app                   "/usr/backend/entryp…"   About a minute ago   Up About a minute             0.0.0.0:8001->8000/tcp     backend_app
68598a38c9f1   milvusdb/milvus:v2.0.2                     "/tini -- milvus run…"   About a minute ago   Up About a minute             0.0.0.0:19530->19530/tcp   milvus-standalone
ab5b3bba9a4c   quay.io/coreos/etcd:v3.5.0                 "etcd -advertise-cli…"   About a minute ago   Up About a minute             2379-2380/tcp              milvus-etcd
54d225d8a80a   postgres:latest                            "docker-entrypoint.s…"   About a minute ago   Up About a minute             0.0.0.0:5433->5432/tcp     db
61c147e907bb   minio/minio:RELEASE.2020-12-03T00-03-10Z   "/usr/bin/docker-ent…"   About a minute ago   Up About a minute (healthy)   9000/tcp                   milvus-minio
33a2c52f196e   ghcr.io/skywardai/rebel:v0.0.4             "/docker-entrypoint.…"   About a minute ago   Up About a minute             0.0.0.0:80->80/tcp         frontend
Step 4: Verify the setup
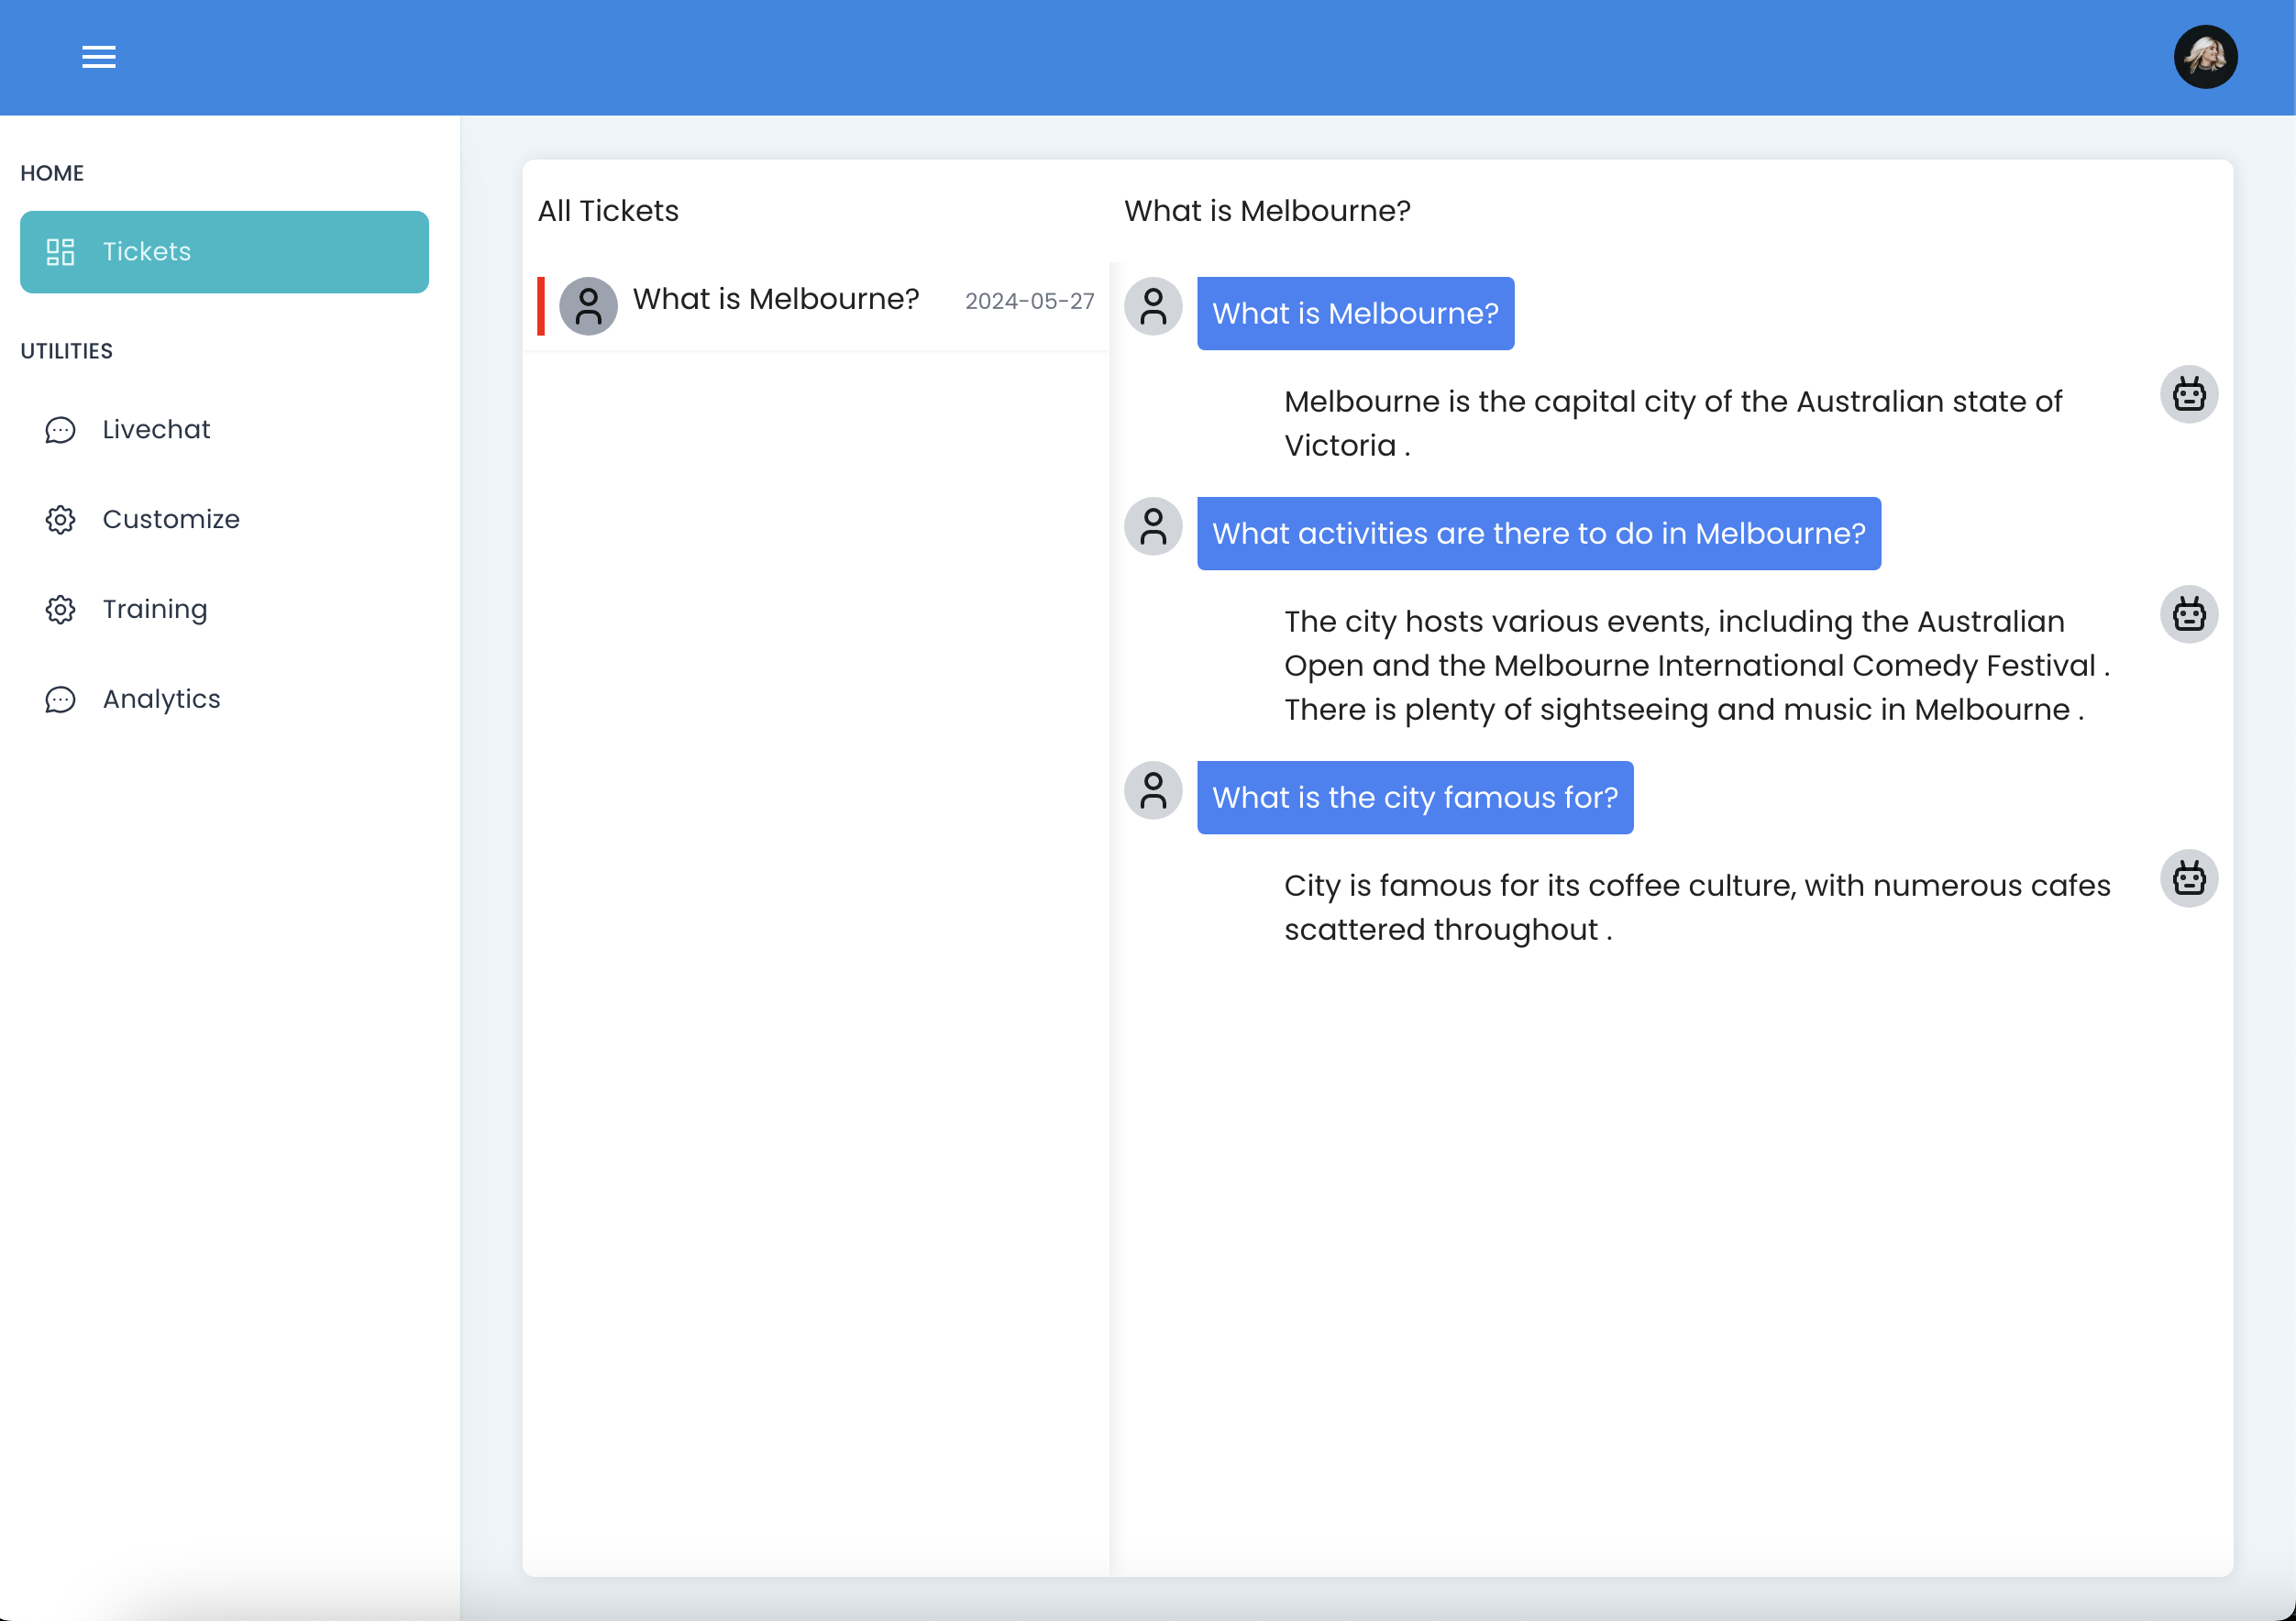
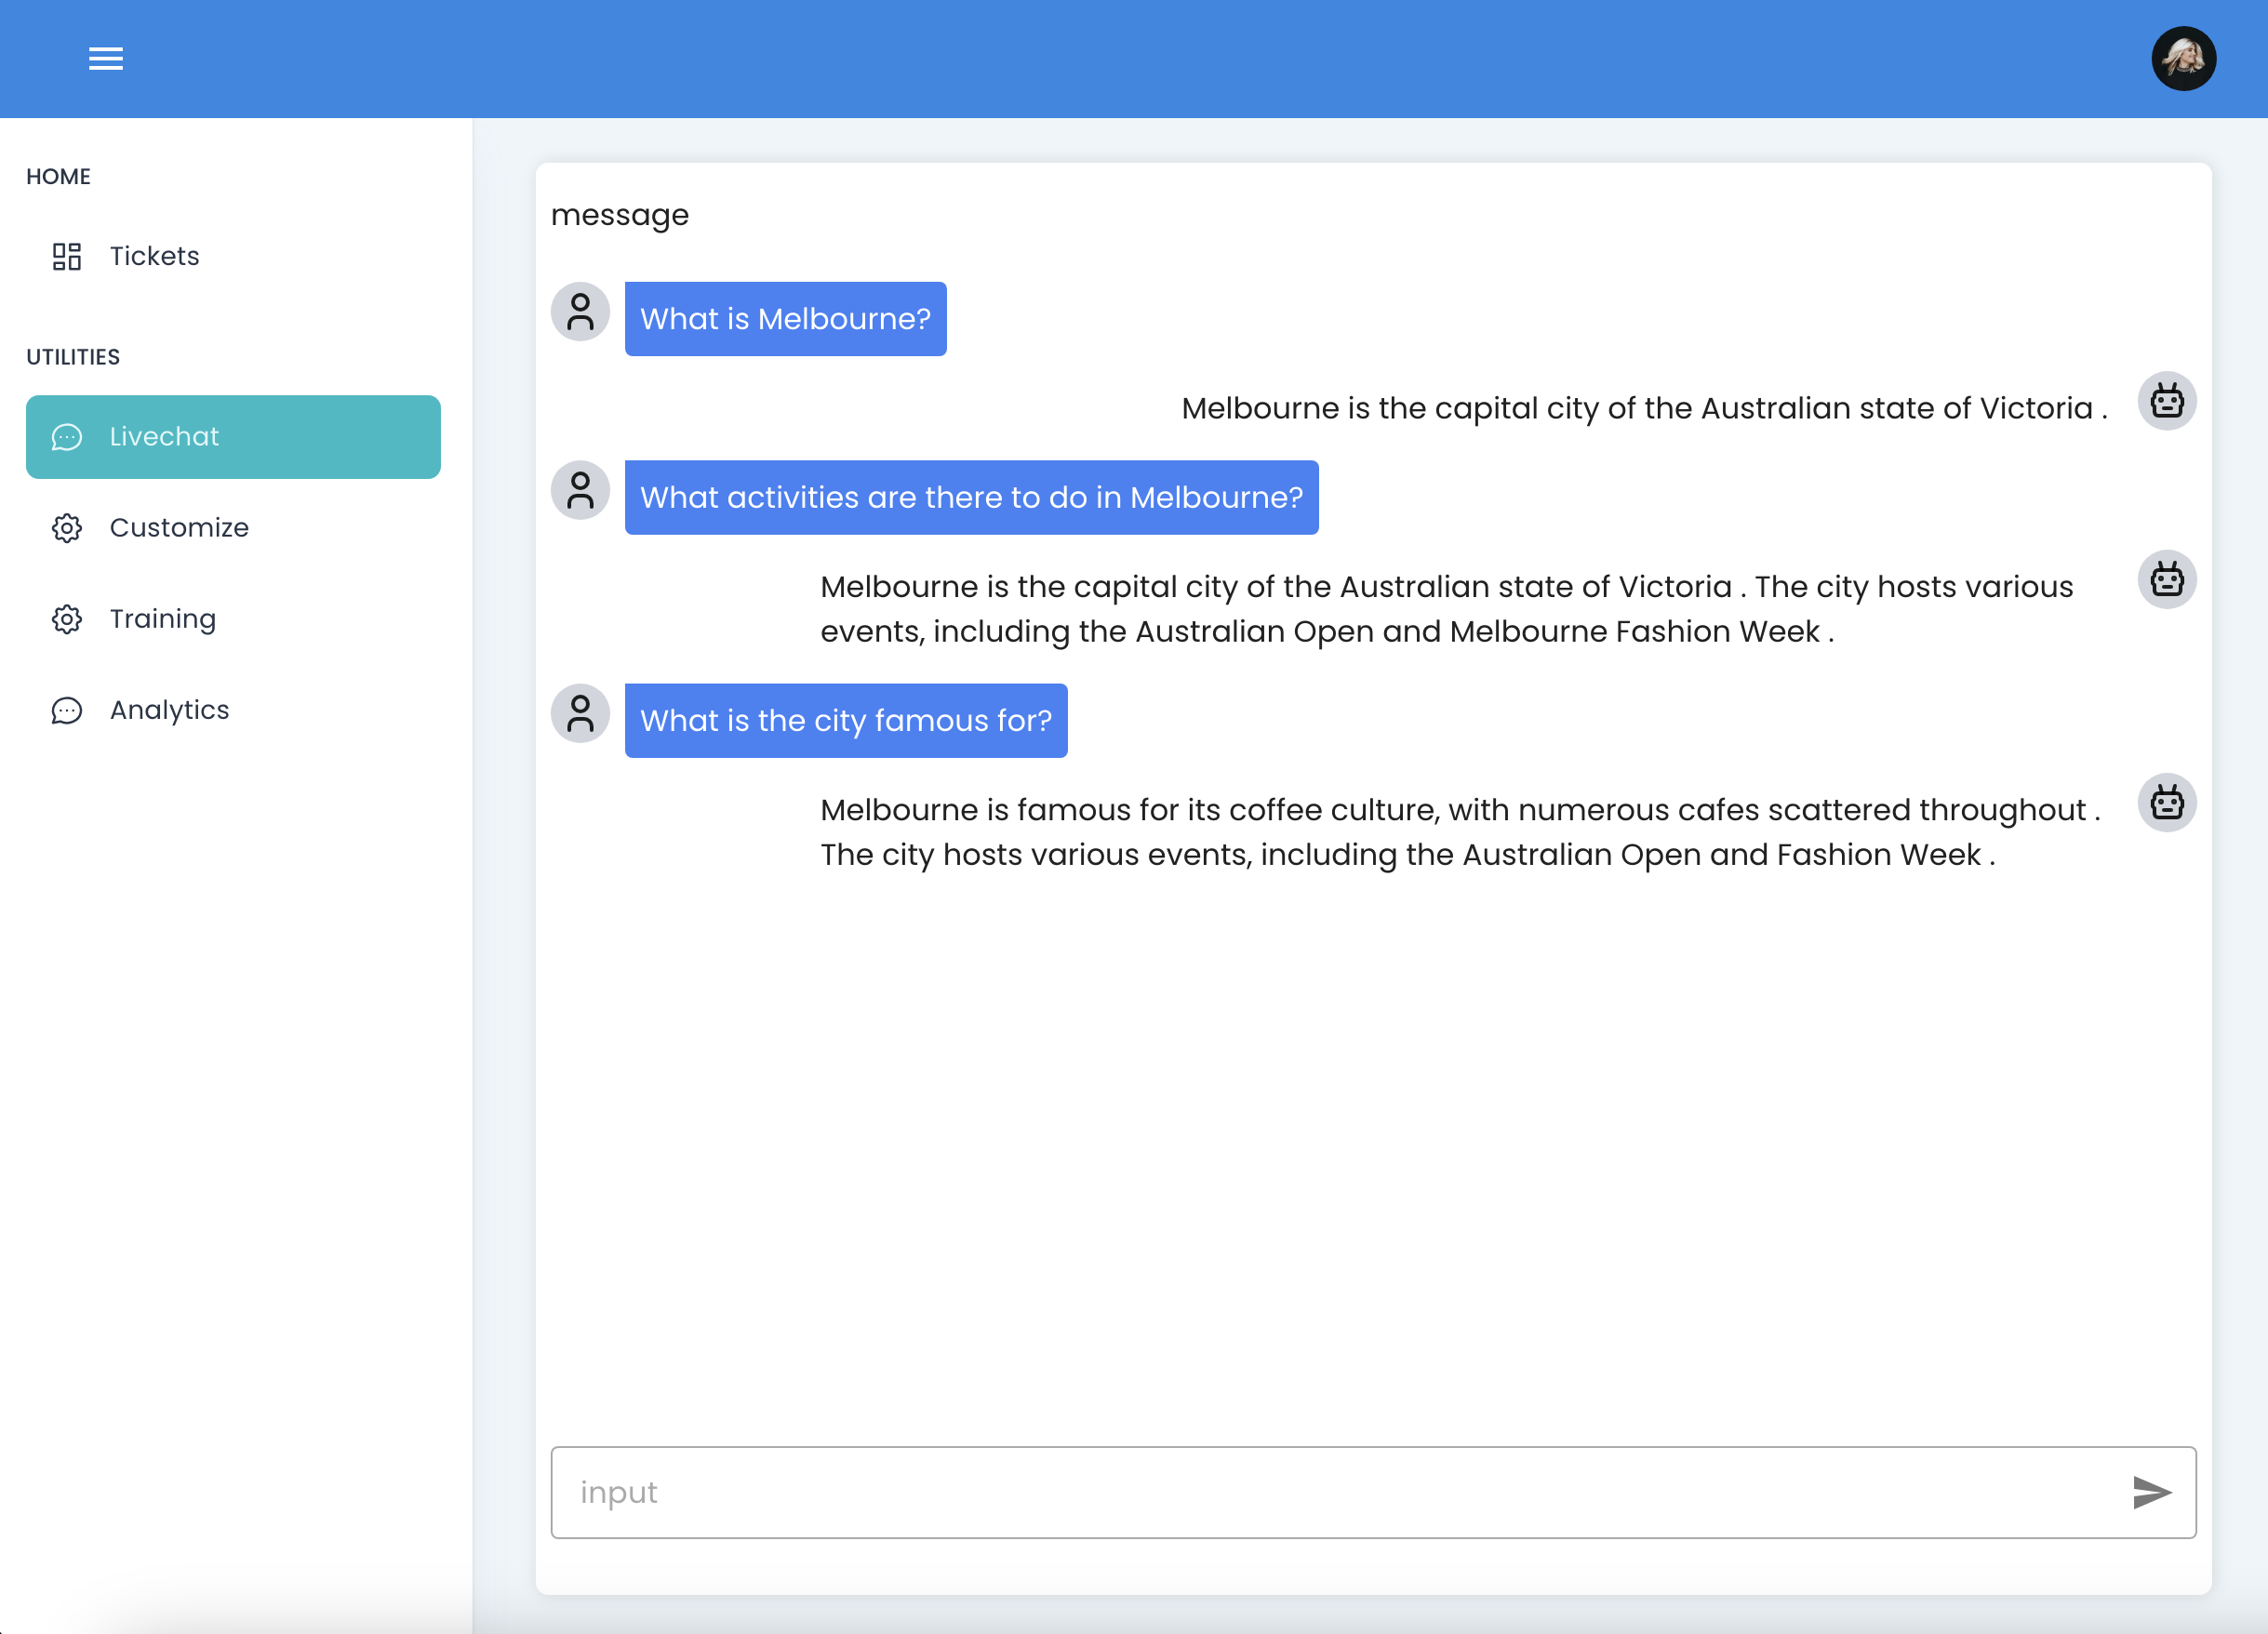
You can verify that the backend is running correctly by visiting the following URL in your browser:
http://localhost


Stopping the Docker container
If you need to stop the Docker container for any reason, you can do so by running the following command:
make demo-stop
vscode ➜ /workspaces/chat-backend (main) $ make demo-stop
[+] Stopping 7/7
 ✔ Container milvus-standalone  Stopped          0.2s
 ✔ Container frontend           Stopped          0.2s
 ✔ Container db_editor          Stopped          0.1s
 ✔ Container backend_app        Stopped          10.1s
 ✔ Container milvus-etcd        Stopped          0.1s
 ✔ Container milvus-minio       Stopped          0.6s
 ✔ Container db                 Stopped          0.1s
This will stop the backend container and clean up any resources that were created during the setup process. You can only stop the containers by using
make demo-remove
vscode ➜ /workspaces/chat-backend (main) $ make demo-remove
[+] Running 7/6
 ✔ Container backend_app         Removed         10.1s
 ✔ Container milvus-standalone   Removed         0.0s
 ✔ Container db_editor           Removed         0.1s
 ✔ Container milvus-etcd         Removed         0.0s
 ✔ Container milvus-minio        Removed         0.0s
 ✔ Container db                  Removed         0.1s
 ✔ Network chat-backend_default  Removed         0.0s
Troubleshooting
Checking the logs
If you encounter any issues while setting up the backend, you can check the logs by running the following command:
make demo-logs
This will display the logs for the backend container and help you identify any errors that may have occurred during the setup process.